Sunday, 2 February 2014

Lenses, Metering and panning


Lenses. To be brief, there are a lot of different lenses. A good lense is vital. Prime lenses are excellent as they are designed for a single task and have a fixed focal length (portrait photographers use a 70mm prime). Multi purpose lenses are good but cannot give the same quality of image as a prime. On the plus side a multi purpose lense does save the effort of lugging around a whole bag of separate lenses! Good lenses also tend to be expensive.
50mm prime lens gives a similar view to the human eye. Anything in the hundreds of mm being zoom/telephoto.Prime lenses are less likely to distort an image, but some distortion may occur with multi purpose lenses. Lenses with lower "f"  numbers provide the best quality of image. Lenses with NR or VR are to be recommended as these minimise camera shake / vibration.

Metering.
A light meter unsurprisingly enough measures light. This is used to set the correct exposure based on the available light.  Letting in too much light will overexpose an image while letting in too little with result in underexposure. Sometimes a compromise is called for when capturing an image with a bright background.  Either the foreground will appear in silhouette against a "well exposed" background or the foreground wlll be correct, but the background "blown out". There are ways around this using back light compensation or by using Photoshop layering.  Generally it is better to underexpose an image rather than overexpose it, as digital editing can be used to lighten dark areas, but will not be able to recover much from blown out regions.

Spot metering provides a light meter reading from a specific point. When photographing an image with a range of contrast from bright to dark then meter on the brighter part of the image (i.e. a wedding dress rather than the grooms suit).

Multi metering provides an average light reading for an area. More useful when there is less of a range in contrast.

Homework
As an exercise we were instructed to use spot metering to provide two images against a bright background. One photo to meter on the darker foreground and the other to meter on the bright background.
F8 at a 60th of a second. Spot meter on jumper.

F22 at 250th of a second. Metering on the sky

Panning and the effect of shutter speed.

Panning: Following a subject to either freeze movement or to show movement by blurring the background. A fast shutter (1/60th and faster) will tend to freeze motion. A slower shutter (less than 1/60th) will blur the background. Below are a few pictures I took today outside Kettering library. Here there's a wide expanse of pavement with steps and benches to encourage skaters to try a few tricks. These pics were taken without a tripod. The lighting was a little troublesome in that the pavement was in shade and the library wall in bright sunlight.


6th of a second. F20  with background blur.

8th of a second. F20.
10th of a second. F22

15th of a second at f20

20th of a sceond at f10
30th of a second at f10

50th of a second at f7.1

60th of a second at f8

200th of a second at f6


Sunday, 26 January 2014

Session 3 - "F" stops and shutterspeeds


And so to the nitty-gritty of "F" stops and shutter speed.

Aperture and "F" stops


I'm not going to go all technical here as I'm no expert. The "F" number is calculated from the relationship between the focal length of the lens and the lens diameter. Oops! That sounds somewhat technical. Ho hum.

F = focal length (mm) / lens aperture (mm).

So a 100 mm focal length lens at an aperture of 25mm will be f4.
         100 mm                                                               10mm will be f10
         100 mm                                                                  5mm will be f20

So, the higher the "F" number the more light is being blocked out.Each whole "F" stop aparently cuts out half the light available to the previous "F" stop.

Image source

The aperture size also has an effect on the sharpness of the resulting image. A small aperture will provide a sharp image as the light is concentrated and less scattering occurs. A larger aperture increases the amount of light scatter and results in a less coherent image. Aperture can be used to control the "depth of field" in a picture. According to Wikipedia "depth of field (DOF) is the distance between the nearest and farthest objects in a scene that appear acceptably sharp in an image". A shallow depth of field will only have a very limited focus. The image below was taken at F4


A smaller aperture provides a sharper image with a much greater depth of field. This image was taken at F22.


The human eye in daylight conditions is around F8

Shutter speed

The shutter speed controls the amount of time that the sensor/film is exposed to light.
A slow shutter speed would be needed for poorly lit conditions as more time is required to obtain the light. Conversely bright conditions require high shutter speeds to avoid the sensor being swamped.

According to Wikipedia

"The agreed standards for shutter speeds are:
  • 1/1000 s
  • 1/500 s
  • 1/250 s
  • 1/125 s
  • 1/60 s
  • 1/30 s
  • 1/15 s
  • 1/8 s
  • 1/4 s"
  • 1/2 s
  • 1 s
1/60th of a second is the mid value for shutter speed.

Shutter speed can be used to either blur motion or to freeze it. A fast shutter will freeze an image while a slower shutter will result in blurring.

original source


The See-Saw connection

Aperture and shutter speed work in unison. As the aperture increases in size then the shutter speed must also increase to avoid over exposure. Similarly when the aperture becomes smaller then the shutter speed needs to slow to avoid under exposure. The best pictorial representation I've seen of this is the see-saw diagram. 

The initial diagram shows a camera set at F4 and a shutter speed of 1/125th.
The left hand side of the diagram provides the approximate aperture size.
The right hand side provides a clock view representing the shutter speed. The "open" part of the pie represents the fractions of a second that will pass at the particular shutter speed.


ISO

So far in my photography I've played around with apertures and shutter speeds but left my ISO on auto. Now it seems I need to work in full manual mode, so I'd better become acqainted with ISO. I remember once buying a high ISO black and white film for my old Olympus Trip in an attempt to capture some moon shots and star trails. However, I didn't have a tripod or a remote shutter release,  so the results were a blurry, grainy mess!

The ISO number is a measure of how sensitive the sensor / film is to light.
A high ISO (1000+) is recommended for low light conditions.
A low ISO (160) is recommended for strong light.
A medium ISO (400 ish) for dull rainy days in England. Looks like I'll be using 400 a lot!

High ISO generates a lot of digital/pixellated noise giving a grainy texture to the image. Low ISO privides a much sharper image.

ISO can be used in combination with aperture and shutter speed to control the amount of light entering the camera. The basic rule is:

1 "f" stop = 1 shutter speed "stop" = 1 ISO value.

original link

So if an image is overexposed at f8 and 1/60th with an ISO of 400 you could ...

A. Reduce the aperture to f7           OR
B. Increase the shutter to 1/200ths OR
C. Decrease the ISO to 200

All the above would have similar results depending in what you are taking a picture of, and what you want in the final image I.e. frozen motion / Depth of Field / sharpness 


Sunday, 19 January 2014

Here are various other pictures taken during the course

Around Tresham college with a camera

f5.6 at 1/60th of a second. ISO 6400. No flash indoor shot. Colour exaggeration added later.

The cheese grater lift housing. f5.6 at 1/60th. ISO 800. Indoor shot. No flash.

Depth of field. f5.6.at 1/60th of a second. ISO 6400 ..no flash indoor shot


Macro madness

Convergent parallel lines

Convergent parallel lines

Mine!

Rain with webbing
After rain 1

After rain 2


Playing with black and white at 50mm

Postie parking lot

Bike graveyard

The Blitz tea rooms (Kettering) as seen in wartime when everything was in black and white

A cup of wartime tea

Playing with depth of field by the "haunted" house
Row boats at Wicksteed park


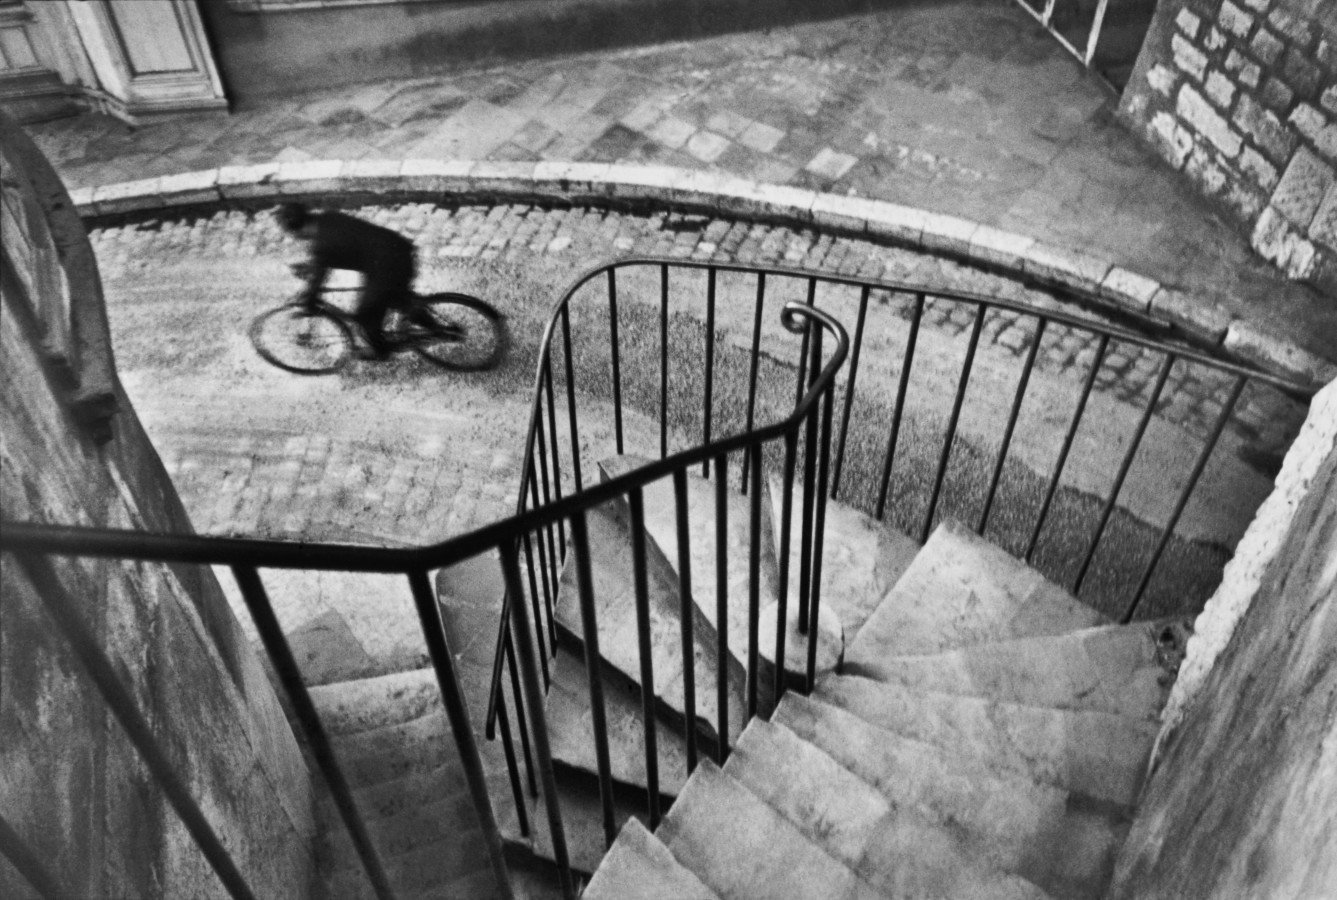
Photography in the style of Henri Cartier Bresson

The homework for session 2 is to produce a photograph in the style of Henry Cartier Bresson


Rules used to create a Henri Cartier Bresson style of photograph
  1. Must be black and White
  2. Must contain people
  3. Must be in natural light
  4. Must be shot at 50mm (i.e. near to what is seen by the human eye)
  5. Should have a decisive moment
  6. Should not be posed
  7. Should adhere to the rule of thirds

Not an easy task! Being January the hours of natural light are limited, especially when I work Monday to Friday nine to five. This leaves me with the weekend. Saturday is already spoken for, so I've just got Sunday to produce something special. Ah well!

As an emergency backup I have a photograph I took about a month ago..

This was taken in a bar in Pilzn (Czech Republic)
This reminds me of an H.E.Bateman style of cartoon.
Perhaps it should be titled "The man who found something on the menu that did not contain pork"
(You need to visit restaurants in the Czech republic to understand this!)
The wood paneling almost divides this picture into 3rds. This was taken at 60mm.


Fortunately for me, Sunday was sunny in parts. I set the custom setting on the GX1 to monotone, zoom resume on 50mm, continuous burst with shutter priority and cycled off to one of Ketterings skateparks.

Decision time ... to go or not?


If a photo is taken on the slant does the rule of thirds grid also need to?


Other skatepark pictures (not necessarily in the style of H.C.Besson)


This wall is probably over 3 metres high


I like the diagonal aspect in this.

Teetering on the edge